Photo taken by John Ott and submitted courtesy of his grandson Michael Ott.
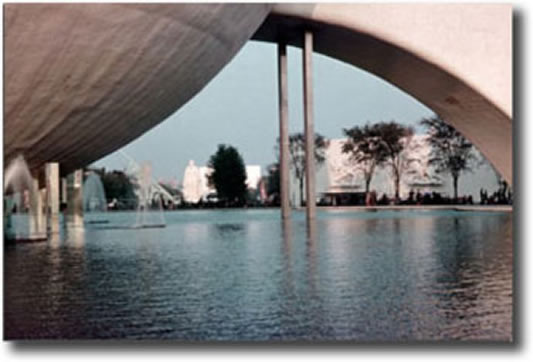
Note the information booth at the far fight under the Helicline - photo MO122
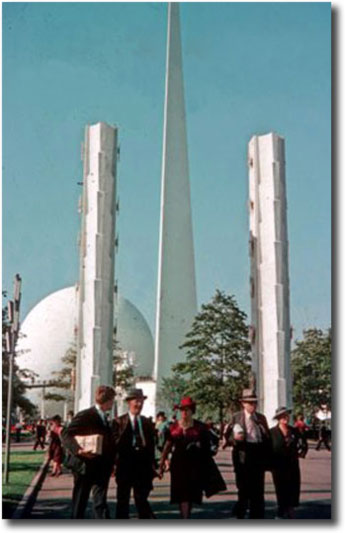
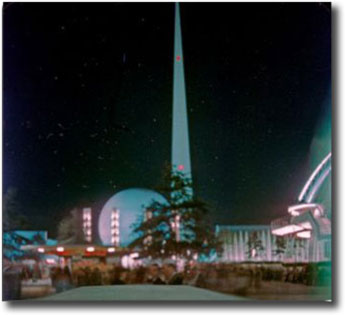
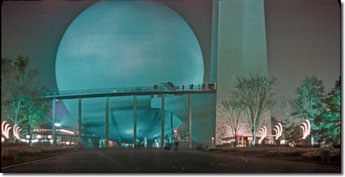
Trylon & Perisphere - photo MO3.

Photo taken by John Ott and submitted courtesy of his grandson Michael Ott.
Trylon & Perisphere - photo MO3.